This is the typography I've created for 'happy'. I made it 3D because I wanted it to look like the wooden toys that children play. I've also applied bright colours in each individual letters to make it look fun and appeal to children.
This is the typography I've created for 'sad'. I made it look swirly because I want it to look like dead branches. Also, I've kept the colours in dark hues to portray negativity. I use black colour for the middle letter to create contrast.
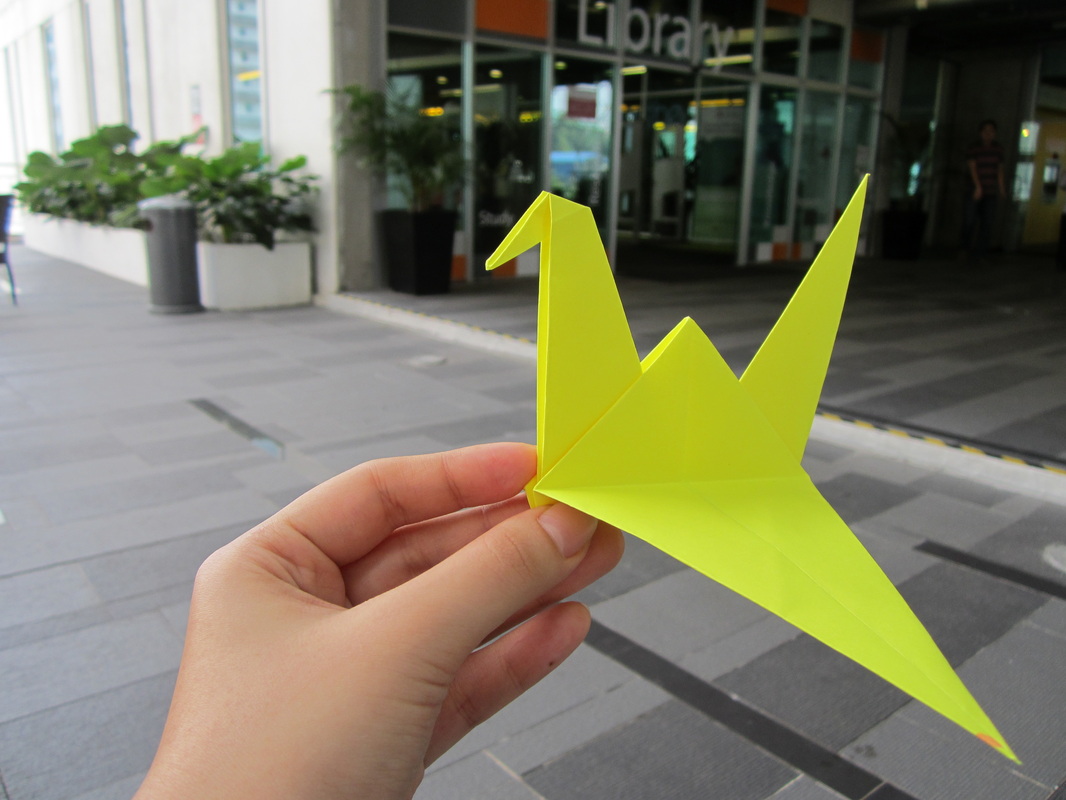
We were told to bring 3 pieces of coloured paper and a pair of scissors. I thought we were going to do some make some origami but I was wrong. Turned out, Miss Ivy wanted to teach us about visual perception using those materials. But first she asked to fold an art piece. Here's the outcome.
Visual perception is the ability to interpret the surrounding environment by processing information that is contained in visible light.
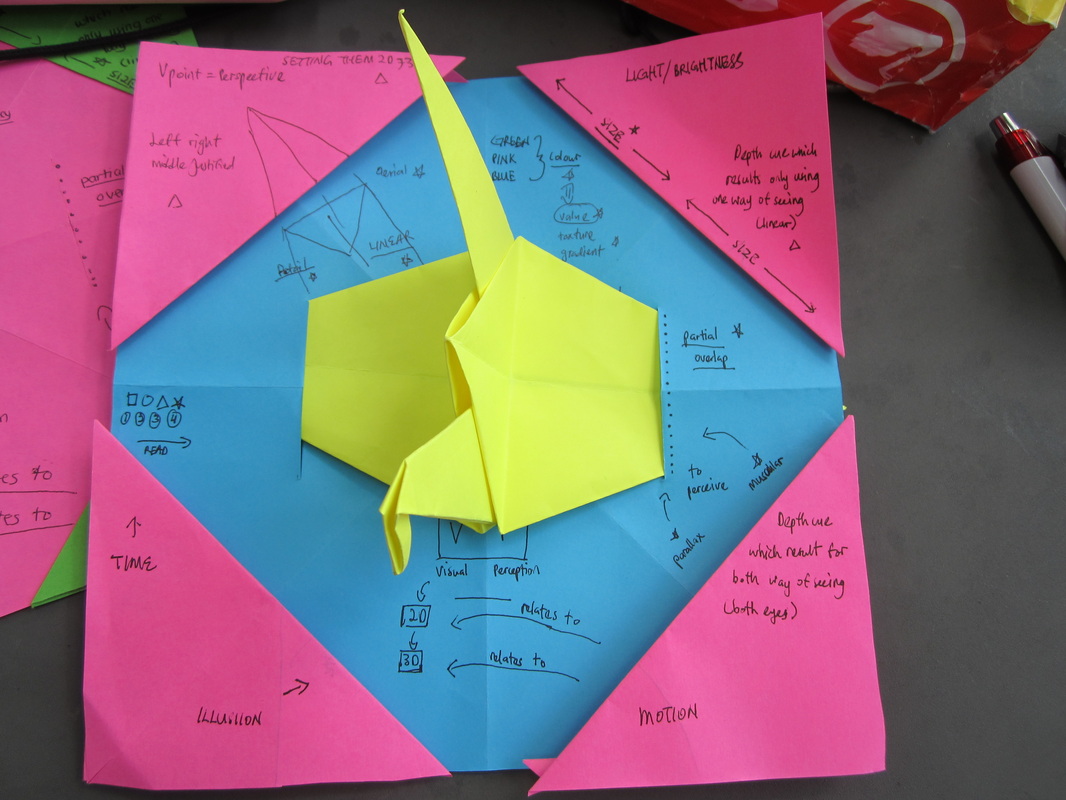
We have two types of objects in this concept; 3D and 2D. A three-dimensional figure, sometimes called a solid figure, is a set of plane regions and surface regions, all lying in three-dimensional space while a two-dimensional figure, also called a plane or planar figure, is a set of line segments or sides and curve segments or arcs, all lying in a single plane. For example, this crane is 3D. It has volume and you can turn it to view it from another side. As you can see on the picture above, the crane is labelled with distance, depth and size/space.
There are a few principles in visual perception:
1. Orientation
An object's orientation may be left, right, middle or justified.
2. Position
Linear perspective is one of the most commonly used in two-dimensional artwork to give the perception of three dimensions. According to linear perspective, far objects are systematically smaller in size than nearer objects. Thus, parallel tracks appear to converge at a point called the vanish point.
Interposition happens when objects are overlapping. The object that is partially covered by another one appears to be in the back.
3. Light/brightness
According to this principle, 'color' (yellow, pink, blue) equals to 'value' which comprises of 'texture gradient'. Texture gradient is the distortion in size which closer objects have compared to objects farther away. The texture gradient is based upon transparency and blurriness of details.
4. Monocular Cues
These cues allow the judgement of distance and depth using one eye (linear). Cues of this type occur in each eye and can operate independently of the other eye.
5. Binocular Cues
These are depth cues which result for both way of seeing (both eyes). Binocular cues allows us to perceive a 3-D object using parallax disparity of our eyes and convergence of extraocular muscles which help determine depth/distance perception.
6. Motion
As in other aspects of vision, the observer's visual input is generally insufficient to determine the true nature of stimulus sources, in this case their velocity in the real world. In monocular vision for example, the visual input will be a 2-D projection of a 3-D space. The motion cues present in the 2-D projection will by default be insufficient to reconstruct the motion present in the 3-D space. Put differently, many 3-D scenes will be compatible with a single 2-D projection. The problem of motion estimation generalizes to binocular vision when we consider occlusion or motion perception at relatively large distances, where binocular disparity is a poor cue to depth.
7. Illusion
Similar to the concept of motion, we depend on motion of 3-D in 2-D spaces to create illusion.
8. Time
We read in chronological order, hence we perceive objects in the same order as well.
Our challenge was to photoshop Victoria Beckham's face. Her face was nasty. It was filled with zits, enlarged pores and discolouration. We had to beautify her in whatever means we can using Photoshop.
The first thing I did was to correct her flaws. I began by fixing her forehead with clone stamp tool. I cloned the area of skin that was clear and covered all the zits on her forehead. I repeated the same step to correct her other problematic areas such as the under her dark circles and along her jaw bone.
The second thing I did was lighten up her dark circles. I used the colour picker to pick a shade that I thought was the most suitable and used brush tool to recolour her dark eye circles. I made sure that the opacity and flow was low so that it doesn't look too fake.
The third thing I did was to beautify her, which means applying make up on her. I noticed she looked quite pale so I used brush took to apply blush on her. Then, I added lipstick on her by using brush tool also. I used colour picker to pick the colour of her blush and adjusted the intensity to make a suitable lip colour. Then, I used brush tool to apply colour on her lips. I made sure that the opacity and flow was low to preserve the texture and light reflection on her lips.
The last thing I did was to enhance her eyes. I did so by applying eyeliner and mascara on her eyes. I used brush tool and setting the colour to black. This time I set the opacity to 100% and flow 50%.
I did not alter her hair, eyes and earring colour because I think they look good on her. I also did not alter her eyebrows because they look perfect already.
Overall, I am happy with the outcome. I think I have managed to make her look naturally beautiful.
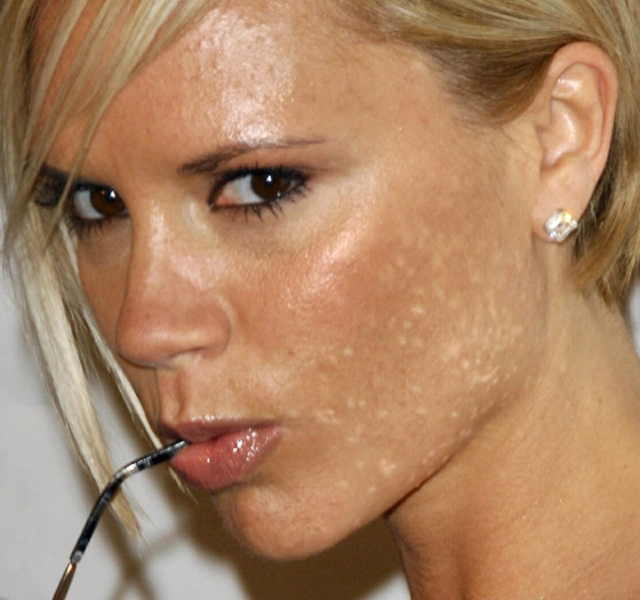
Before
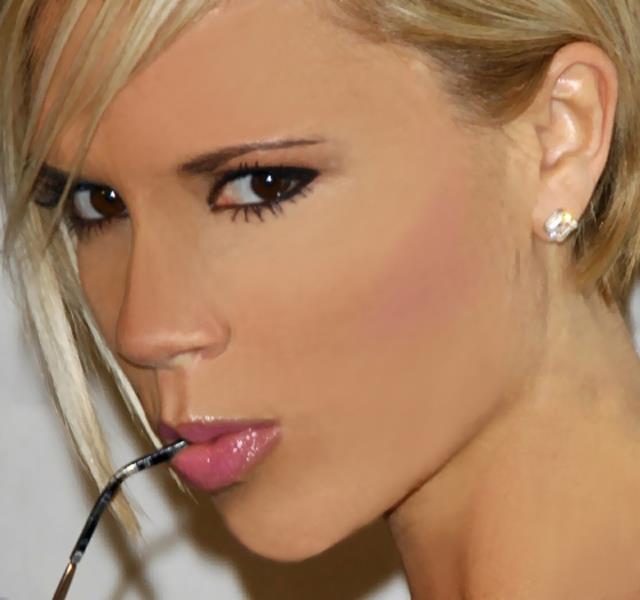
After
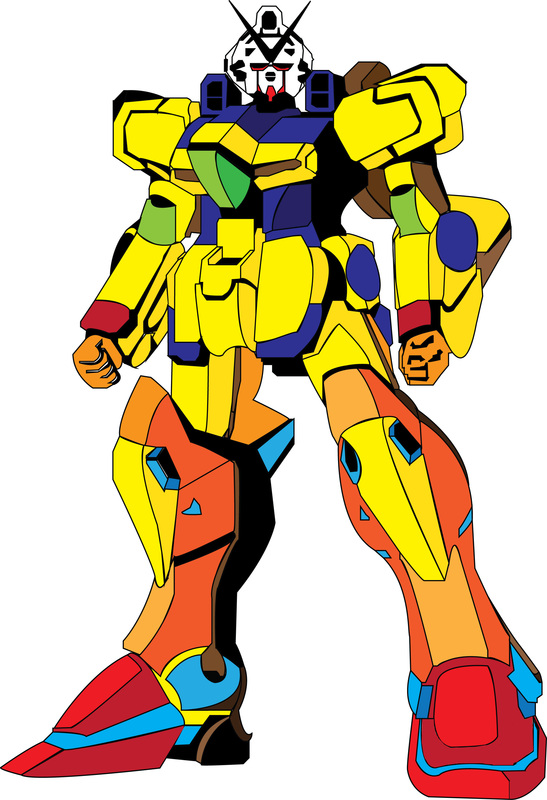
The tracing part was a noticeably tedious effort. I have zoomed in until each individual part fills the whole screen and pen tool-ed each line. Since the lines are extremely pixelated, I had to ignore some jagged lines to make the lines as straight as possible.
I've used the principle of contrast in filling in the colour of the Gundum. I wanted to create a 3D effect but I also wanted it to look colourful. So I've used 4 main colours in varying shades. I've used the original picture as a guideline to help to differentiate which parts belong to which.
I have repeated the 4 main colours which are yellow, orange, red and blue. This creates a consistent look in this Gundum and unifies this the design. I've used yellow on the front part of his torso, shoulders, arms and shins. Orange is mostly used on his hands and legs. Red is mostly used on his feet. Blue is used on the back part of his torso.
I've used black stroke is every part to create a bold effect. I think this visual effect will make my Gundum look more strong and powerful. Overall, I am quite happy with the outcome.


 RSS Feed